Sunday, February 16, 2014

DIY Curio Shelf Revival

In all my sorting and organizing of family heirlooms and weeding of clutter, I have discovered many small figurines and trinkets which I have no room to display. While browsing a local antique store, I acquired this beat up old curio shelf for $20. Yay, project!


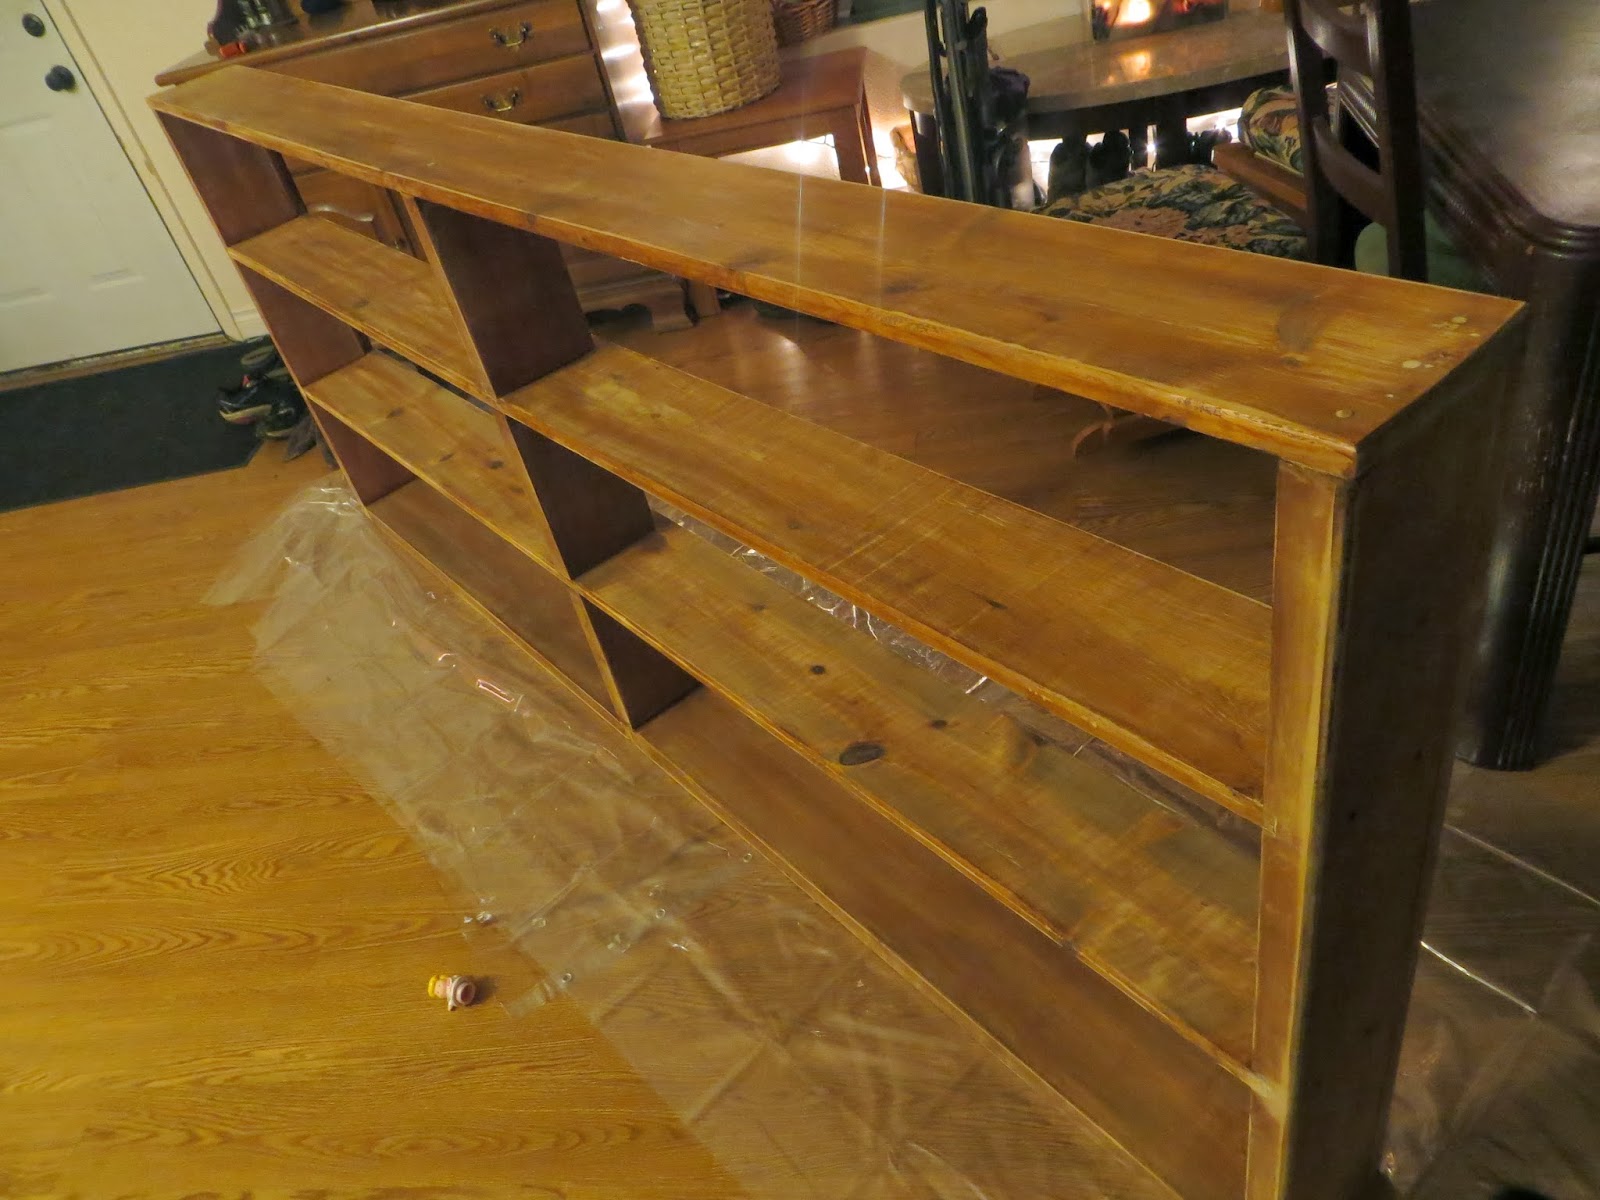
After giving it a thorough wipe-down, I broke out the electric sander. Using a heavier, paint-removal grit helped speed the process of stripping the old paint.


In addition to paint removal, I also took the time to round each edge on the front of the shelf unit to give it a more professional finish.


Because I planned to re-paint, I did not bother to remove all the black paint. I just focused on making a nice clean surface on the front of the unit, and roughed up the surfaces on the rest to accept paint more readily.

The fun part was deciding how to paint the shelf!

I normally like a bit of contrast, but a few of the shelves were imperfectly level. Painting it white and slapping it on a dark wall would only serve to highlight the imperfections of the piece rather than the items on display.

Since my walls are dark blue and green in the room I chose, I painted the shelf navy blue. I had some Official Seahawks Navy left over from my bathroom renovation, and a shelf this size barely made a dent in the can, even with 2 coats!


Finally, the second coat was dry and ready to hang. I like to give pieces a full 24 hours to dry hard before setting objects on the shelves, so there is less chance of the items sticking to the fresh paint job. Now all that remains is to add the trinkets!


Yes, my bedroom has a big mural around the whole thing, a tree skyline with a dark sky above filled with glowing stars. I have a problem with insomnia. Being in a dark serene place with stars is so peaceful. 

Thanks for following my crafting and costuming blog at Deep Forest Groove on G+.
For more information, find me on Facebook @ www.facebook.com/islesofday


Thursday, February 13, 2014

How To: Leafy Gown Tutorial

Making your own leafy garment can be a fun, simple way to create a magical costume or unique accessory. Hot glue, silk leaves and a lot of patience are the main ingredients, along with a little planning and a high burn tolerance (LOL).


In this tutorial, I will explain the process of planning and executing a leafy garment of your own design.

Many countless hours go into the making of the larger ball gown or tunic designs. Leave yourself plenty of time to plan and place leaves. This is not a good one for the hotel room at the Con! LOL


The first step is planning a color scheme. Do you want to be a green man character? Are you looking for an Ice Queen frosted winter theme or an Autumn array of reds, oranges and gold? Do you want a skirt bursting with spring flowers? You need a lot of leaves to cover the underlying material. I tend to buy them on clearance when the seasons change and strip them off the plastic vines or bunches by hand. Sort them by type if possible so you can distribute them purposefully through the pattern later.


It helps to choose a gown or garment which does not need a lot of adjustment in the fit, and is not a stretchy fabric. I like to work with firm, medium weight fabric with some texture  to create a solid bond with the hot glue. Sometimes I cover bridesmaid or prom dresses. You can built directly onto a hoopskirt and bra top. I suggest you start at the bottom and work your way up, overlapping the leaves like scales.


I use a glue gun and sticks of multi temp hot glue, simple tools which can be found at the craft store. I like to set the heat to high. Wearing a protective glove over my leafing hand has saved me many burns (but not all...).

For the hoopskirt gown, I pre-drew a pattern directly onto the hoopskirt fabric with a sharpie so the front insert of flowers would be evenly spaced and symmetrical. In other cases, a more random pattern is desired and the real trick is to try and maintain variety and not run out of interesting leaf options. This is where the pre-sorted piles of leaves come in handy, so you can see what you are running out of and adjust.


While gluing the leaves, I try to initially only glue the top half so I can tuck further leaves under the edges later. You can go back at the end and tack down with more glue the leaves that stick out oddly. It is better to have those jagged edges for the realism than to have a perfectly flat, glued down slab of leaves which lacks dimension.

Be patient, have fun, and go slow. If you are getting fatigued, STOP! Breaks are important. It can be tempting to try and rush a project like this, burns happen when you are getting sloppy and moving quick. Take time to step back and look at your progress frequently so you can catch anything that looks out of place before it is surrounded.


I wish you much joy in your future art, and hope to see you in a leafy creation someday! Feel free to post pics of your leafy garments here. I want to see them!


Tuesday, February 4, 2014

DIY Bookshelf Revival

I came across a local garage sale find... a bookcase handmade in oak by a resident of my own town of Kalama. It was in questionable shape, having spent some time in an unheated garage. As any renovation junkie can tell you, it's all to easy to buy a potential project only to have it sit in a corner awaiting it's turn indefinitely. But when you are a 7 and a half foot long bookshelf sitting in the middle of my dining room, well Baby you just made the top of my list! I am not tripping over this monstrosity for the next (insert number of procrastination weeks here).

Original shelf in the Nice Lady's garage.
The first thing I did was tear off the soiled backing (a thin sheet of faux wood wall panel) and scrub her down with a dry brush. Once the debris was removed, I attacked the discolored and dinged wood surface with a medium grit sandpaper on the electric sander.


Now this picture above makes the sanding job look really good, like maybe I can stain that wood. Deceptive! The truth was more like this...

Some of the wood must have been different types because I could see they were not going to stain the same. Hence the next important decision: Paint!

I've really been digging the navy and white combo lately, and my living room already happens to have a blue wall. Official Seahawks blue... Go Hawks!

So... I chose white. I think it will be striking against the dark blue of the wall, and a cheerful addition to the room. As time continues, I would like to add more white accents to the room.

Primer coat complete, waiting for it to dry (and to do a second coat).
I let the paint dry overnight and moved it into location in the morning. 


Finished bookshelf in place and ready to play!


Thanks for joining me on all my journeys through life, decorating, and renovations!


Monday, February 3, 2014

Feathered Collar How-To

Sharing costume knowledge is an awesome part of being a crafter and cosplayer!

Check out my video blog or follow the step-by-step photo directions below to create your own amazing feathered collar.

Evil Queen, Dark Fae, Vampire, Bird or Owl Costumes look great with a feathered collar.


YouTube Video Blog Costume Tutorial of How To Make a Feathered Collar

Let's begin the step-by-step picture tutorial:

Step One - Create a base.
I like to cut out a yoke of black polar fleece (soft!) on which you glue the whole feathered mess. None of the yoke will show when you are done, but if you are doing white feathers I would use a white fleece just to avoid a dirty shadowed look. Make sure as you place feathers and trim on the yoke that you leave a little fleece hanging out at the FRONT of the collar to later sew on the necklace clips.


Step Two - Cut and place your base feathers.
I like to use a yard of Rooster saddle feathers pre-strung, which you can find online from most feather distributors in various price ranges according to thickness and quality. I cut the strip into 6 equal pieces (3 for each shoulder). Use the hot glue gun set to high heat to glue the feather strips onto the base in layers. Focus the glue on the base of the feathers, where they are pre-strung. Turn the feathers on the bottom strip DOWN, turn the other two strips on that side UP when you glue for the winged look shown here.


Step Three - Add any embellishment feathers.
Sometimes I want a few natural colored feathers on top to add texture. Glue these in next individually, putting a little glue on the base of the accent feather and tucking it in as desired. In this model I placed a few additional brown feathers in between the layers as well.

Step Four - Add the trims.
I like to start with a feathery, torn-thread trim that blends the feathers to the neckline. Glue it carefully along the edge of the feathers and exposed yoke at the back of the neck, go slowly and just glue a few inches at a time for accuracy. I layer on a more decorative trim over the frayed layer to add a little sparkle.


Step Five - Add the necklace chain and pendant.
I like to sew on two necklace clips so you can attach the chain and pendant however you like or even replace it when reusing the item with a different costume.

Finished Product: A beautiful, unique accessory!

Thank you for joining me and for experiencing this art together...